
A Spring Cleaning Guide - Part Two
Additional spring cleaning tips to create a pristine home. Part 2 of 2.
Appliances

Refrigerator
Warm water, dish soap and a sponge will do wonders to clean the interior and exterior of your refrigerator. Make sure to remove everything from the refrigerator first, and pull out shelves and drawers. Wash and rinse the shelves and drawers in the sink. Once dry, re-insert accordingly. You can wipe down the exterior while the shelves dry. After cleaning, it’s probably a good idea to wipe down all surfaces with antibacterial wipes.
Dishwasher
Before running a cycle with a specialty cleaner (we recommend Affresh Dishwasher Cleaner Tablets), make sure to remove food and debris from the bottom of the dishwasher. These tablets remove limescale and mineral build-up. The tablets clean the dishwasher and the detergent cleans the dishes. To clean the exterior, you can use the same soap and warm water method as the fridge.
Range
In this case, you want to start at the bottom. First, remove pieces of food and debris, chipping them off with a spatula or putty knife, if needed. For the really stubborn bits, spray with ammonia and let them soak for fifteen to twenty minutes (longer if needed). Then, wipe up the ammonia and particles that can be easily removed. Sprinkle baking soda and white vinegar onto the bottom, letting it bubble up before wiping it with a sponge. Wipe down the sides and top with vinegar and baking soda.
Washing Machine
To disinfect your washing machine, add two cups of distilled white vinegar to the detergent dispenser and run a complete cycle. Then add ½ cup of baking soda to the drum and run another cycle on the hottest water temperature and at the highest speed.
Closets

The key word here is organization. Start by clearing out clutter and anything you don’t want or need anymore. Having trouble deciding what to keep? You can make this task easier by asking yourself one question: "have I worn or used it in the last twelve months?" If the answer is no, consider donating it to a thrift store. Once the clutter is cleared out, don’t forget to dust shelves, clean the walls and ceilings, and vacuum the floor before putting everything back.
Mattresses
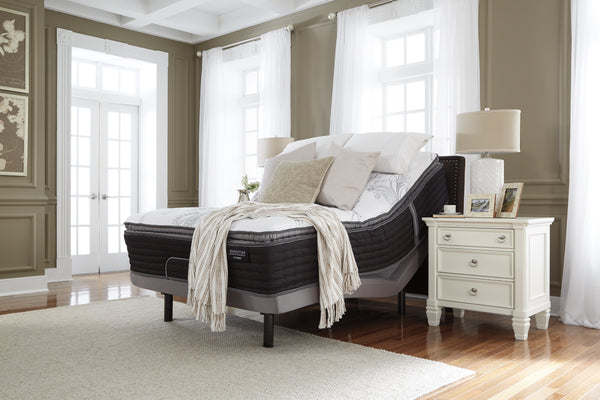
Start by washing sheets, pillowcases, comforters, duvet covers and mattress covers (check labels to ensure these are all washable). Use a vacuum with attachments to clean all crevices. Address any stains with a spot or stain remover. Spray the mattress with disinfectant afterward and let dry completely before restoring the covers. You may also consider turning your mattress 180 degrees (do this every couple of months) to prevent permanent sagging.
Mattresses naturally take on oil, skin cells and other dust. Because of this, The Better Sleep Council recommends replacing your mattress every seven to ten years. No matter the size or material, check here to find the right mattress for you.
Upholstery

Remove cushions from furniture and launder removable covers and throw pillows (if they are washable - check the care labels to make sure). For non-removable cushion covers, take the cushions outside and beat them to remove dust. Then, use a stain remover to restore upholstery to its prime condition. Similar to the mattress, make use of your vacuum’s crevice and upholstery tools to clean under the cushions.
Garage

Much like the closet, the key to a clean garage is organization. Start by clearing out clutter and discarding anything that is no longer needed. Again, if it isn't used seasonally and hasn't been needed for over a year, you can likely add it to your closet's donation pile.
Do you have boxes stored in your garage? Do you know what’s in them? Going through those and sorting contents into storage containers (keeping only what’s needed, of course) can save space. Labeling the containers will ensure you can find things easily later.
Small hardware items like nails and bolts can be organized in multi-compartment containers, like a tackle box. Pots and gardening tools can have their own section on shelves or in a designated area of the garage; tools in another; and so on.
After you’ve cleared out the clutter, give surfaces a good cleaning. Going from top to bottom, dust cabinets, shelves, and other surfaces. Then tackle them with a cleaning solution and a warm, damp cloth or sponge. Wipe down walls, any refrigerator or freezers (if you have them), and cabinet doors with warm, soapy water. Finally, sweep the floor to clear it of dust and debris. You can mop it or hose it down, depending on the finish. Be sure to let the floor dry completely before putting things away. Use a floor fan to speed up the process.
Here are a few additional helpful tips for the garage:
- Spread cat litter over any wet motor oil and let it soak in. Then, sweep away the litter and use dish soap and a wire scrubbing brush to remove the stain.
- Clean garage walls with a sponge mop, then dry them with a flat-head mop (mops with microfiber cloth works best).
- Kill mold with bleach OR a vinegar and warm water solution (don't combine them).
Spring signals a new beginning, so it's a perfect time to give your home a refresh. While it may seem like a big task, using this list at least once a year will make the job more familiar and less daunting. While the hardest part may be making time, it's a worthy investment knowing you can relax and enjoy the fruits of your efforts all year long.